Overview
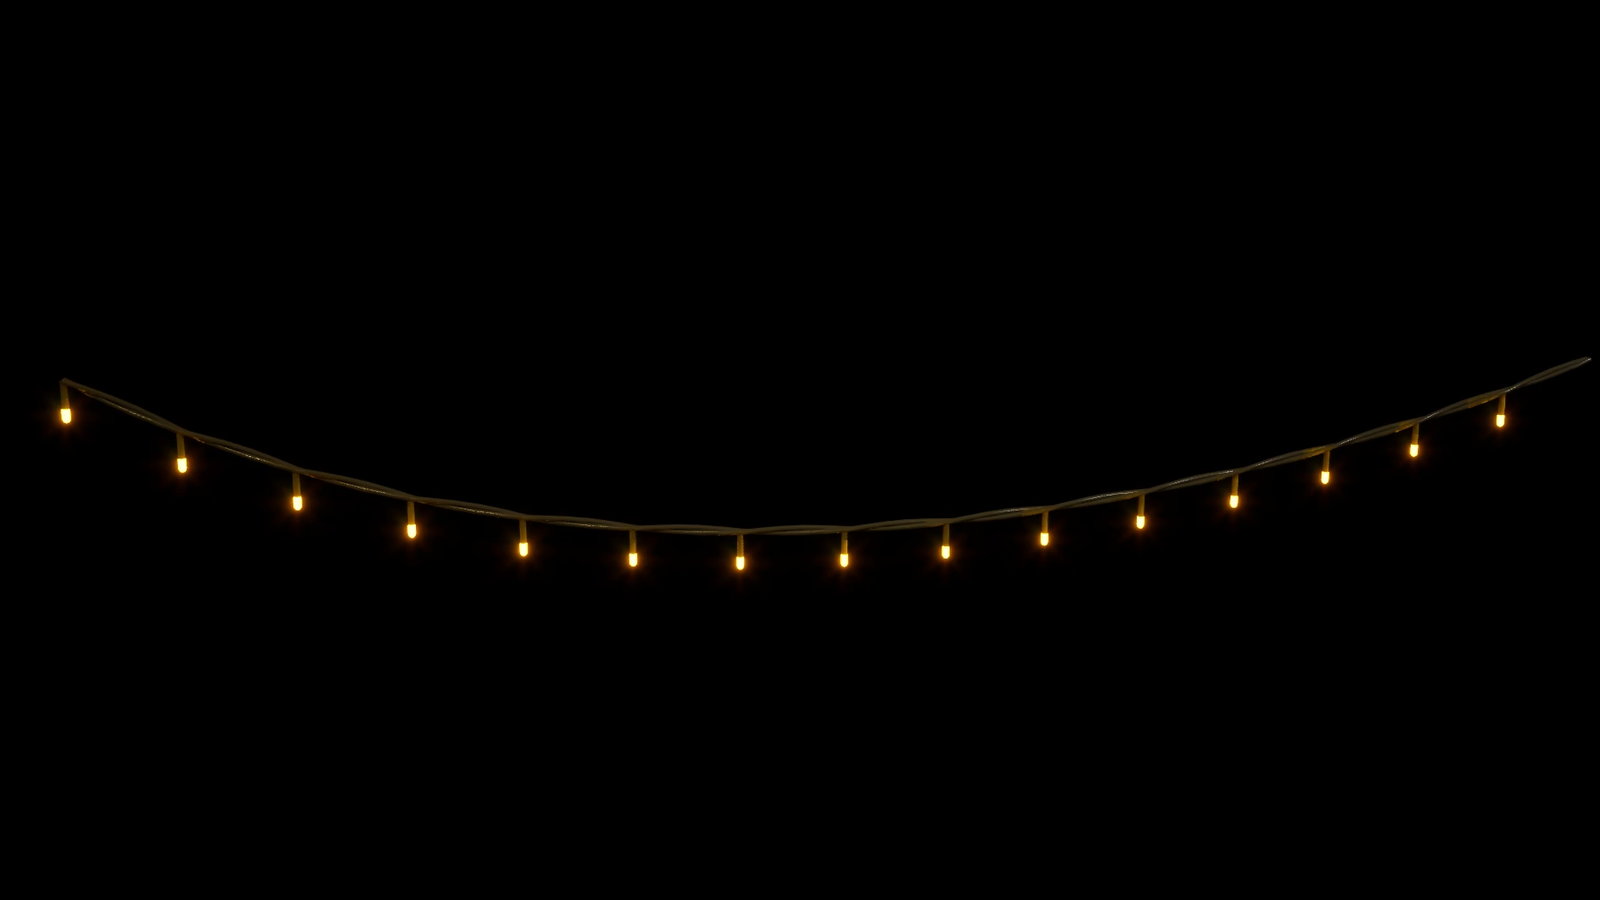
The Fairy Lights Spline System generates beautiful, glowing strings of lights that gracefully follow splines, attach to actors, or drape across your environment. Perfect for adding a magical, festive, or cozy atmosphere to your scenes.
Installation
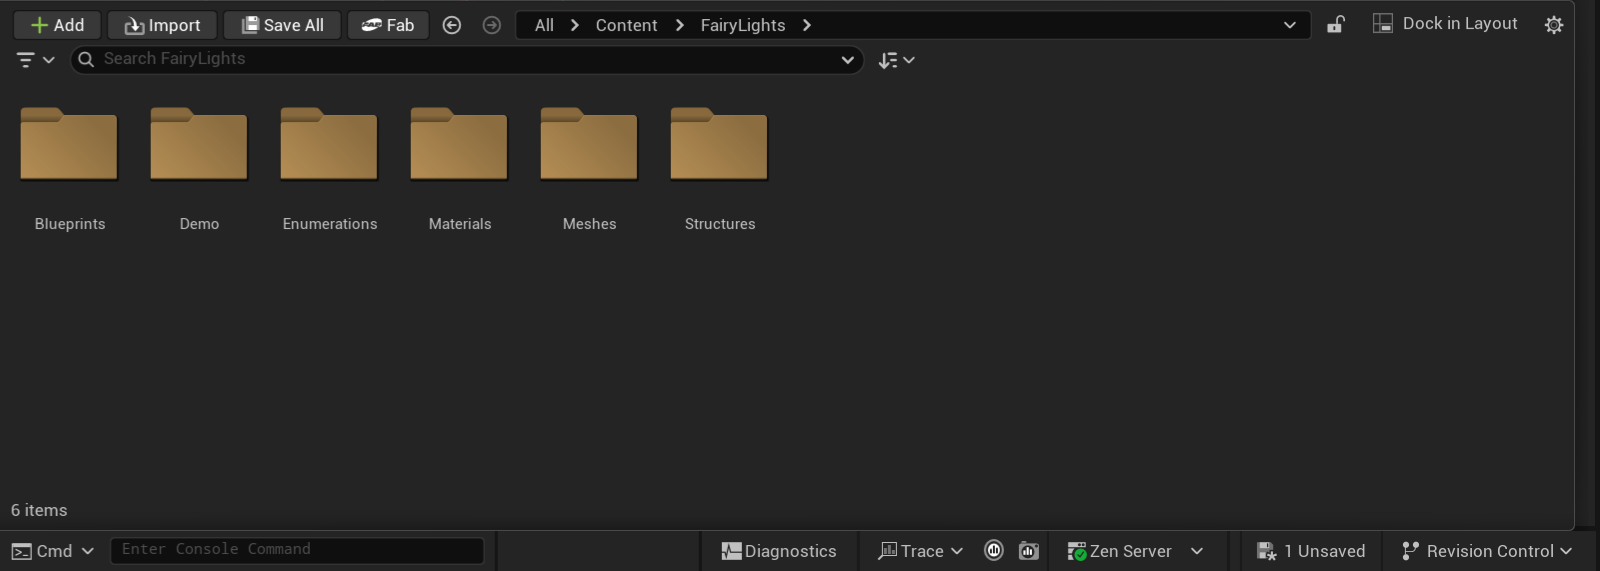
- Download from Fab – Open the Fab Store, search for Fairy Lights Spline System, and add it to your project.
- Add BP_FairyLights to your scene – Drag and drop the provided Blueprint actor into your level.
- Manipulate the Spline – Adjust the spline points in the viewport to your liking. The lights will automatically update to follow the curve.
After these steps, the glowing fairy lights will be visible and ready for further customization.
Settings

Cord
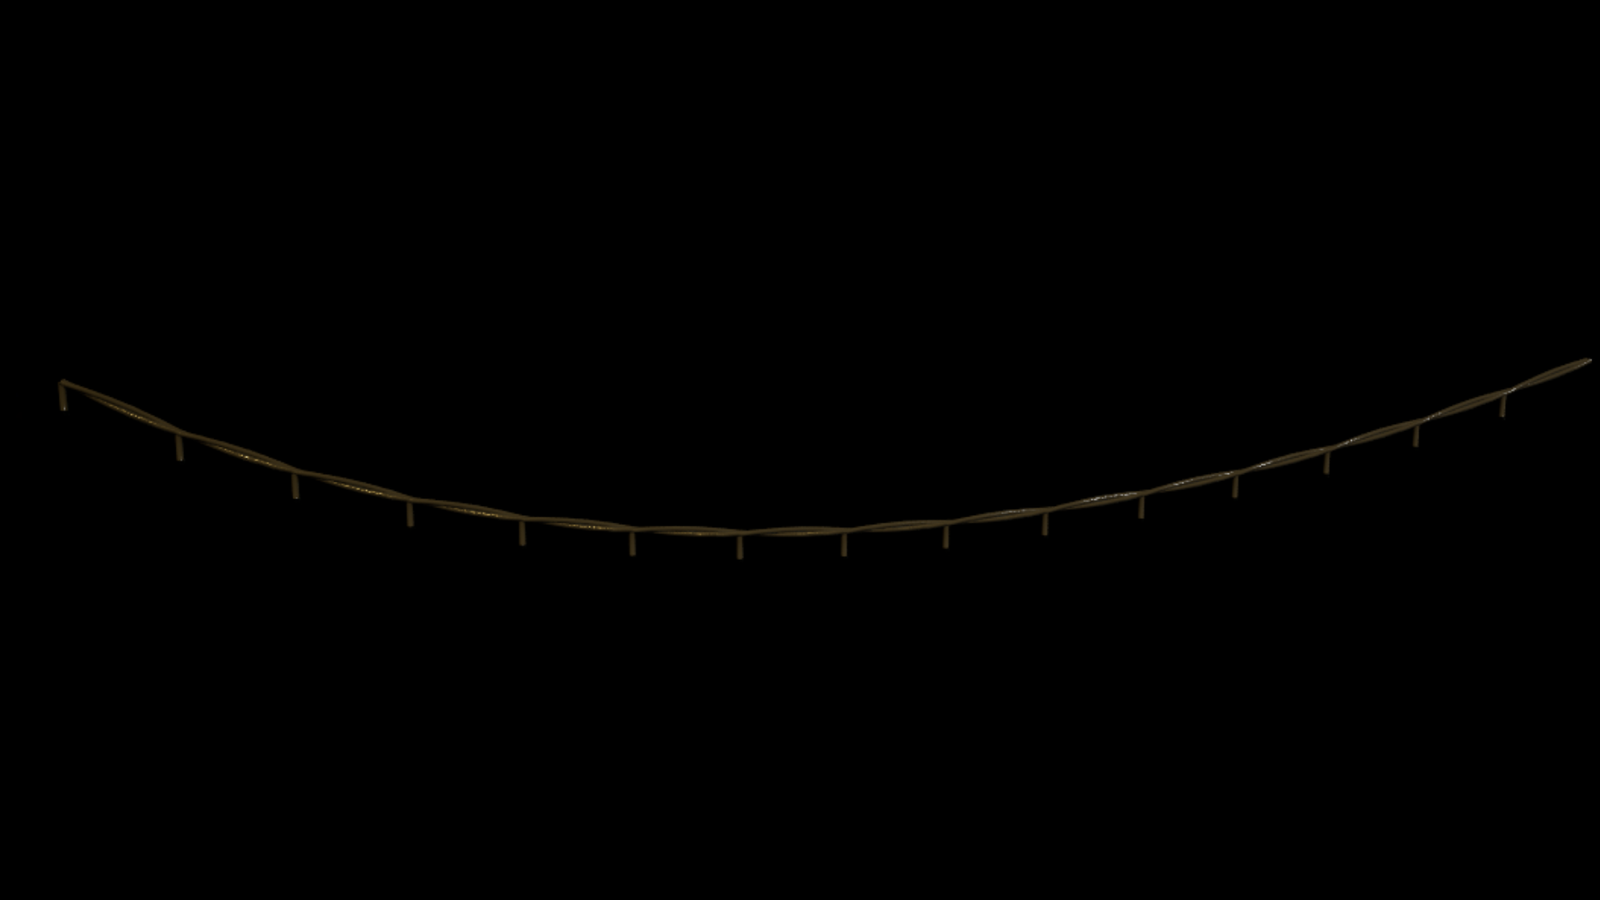
- Cord Mesh – The static mesh used for the cord/wire connecting the bulbs.
- Section Length – The length of each cord mesh segment.
- Cord Thickness Scale – Scales the thickness of the cord mesh.
- Cord Color – The base color of the cord material.
- Additive – When enabled, the cord material uses an additive blend mode, making it glow slightly.
- Opacity – The opacity of the cord material (When Additive is enabled).
LED
- LED Mesh – The static mesh used for each individual light bulb.
- Uniform Scale – Scales the LED mesh uniformly.
- Density – Number of LEDs per section.
- Limit Rotation – Restricts the rotation of the LED mesh during generation.
- Body Color – The base color of the LED mesh body (non-emissive part).
- Light Colors – An array of colors for the emissive light.
- Random Order – When enabled, the light colors are applied in a random order.
- Lights Off Color – The color applied to the LEDs when the light pattern turns them "off".
- Random Color Per Light – When enabled, each individual LED gets a completely random color, rather than picking from the array.
- Emissive Intensity – The strength of the glow.
- Additive Body Color – Same as in Cord's settings.
- Body Opacity – The opacity of the LED mesh body (When Additive Body Color is enabled).
Light Pattern
- Reset on Update – When enabled, the pattern resets to its starting state every time the pattern is changed or updated.
- Pattern – The dynamic lighting pattern to apply.
- Pattern Speed – The speed at which the pattern animates.
- Pattern Offset – Shifts the starting position of the pattern along the spline, allowing the animation to begin at a different point.
- Reverse Direction – Reverses the direction the pattern travels along the spline.
- Custom Parameters – A float array to drive light patterns' behavior.
Update Light Pattern (Function)
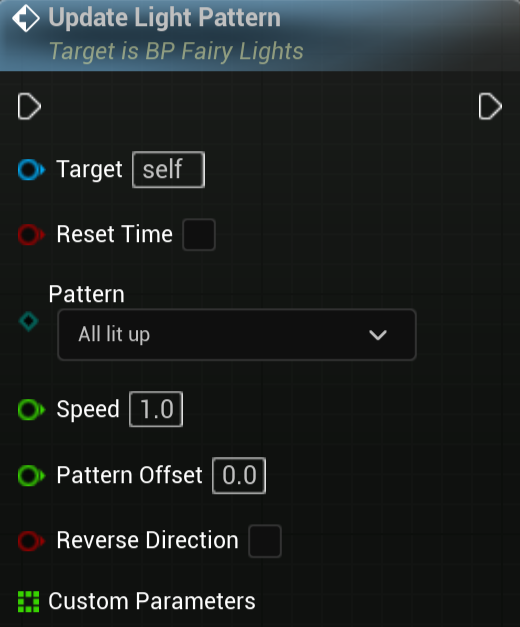
The Update Light Pattern function allows you to change the active light pattern during runtime, without needing to restart or regenerate the entire system. This is useful for dynamic gameplay moments, environmental triggers, or interactive scenes where the lighting behavior needs to change on the fly.
You can set the custom parameters in two ways:
- Using a Make Array node to build the float array inline.
- Creating an Array-type variable pre-filled with the values, ready to plug straight into the function.
Performance
In most tutorials, splines are built using Spline Mesh Components. They are easy to set up, look correct, and bend smoothly with the spline. However, they cost a significant amount of performance—every single Spline Mesh Component adds to the overall draw call count. Conversely, Instanced Mesh Components are highly performant but don't bend like Spline Mesh Components, resulting in visible "mesh breaks" along the curve.
To solve this, my system uses a mix of both: Spline Mesh Components at sharp bends, and Instanced Mesh Components where the curve doesn't bend much. This gives you a good-looking cord while remaining reasonably performant.
Performance Settings
General
-
Use Spline Bound – When enabled, all components reference the spline's single, unified bounding box instead of computing individual bounds for each piece. This means every component is treated as a single render unit: they all share the same culling decision and render together, rather than being culled independently.
This is ideal for compact clusters of lights where the entire spline is typically visible on screen at once. However, if your fairy light spline stretches across a large area, this option becomes counterproductive—distant sections that would normally be culled will continue to render as long as any part of the spline is in view, wasting performance.
Rule of thumb: use it when the lights are crumpled together and the whole thing fits comfortably in the viewport. Avoid it when the spline covers a large area.
Cord
- IM Angle Tolerance – Tolerance angle for the instanced mesh cord segments.
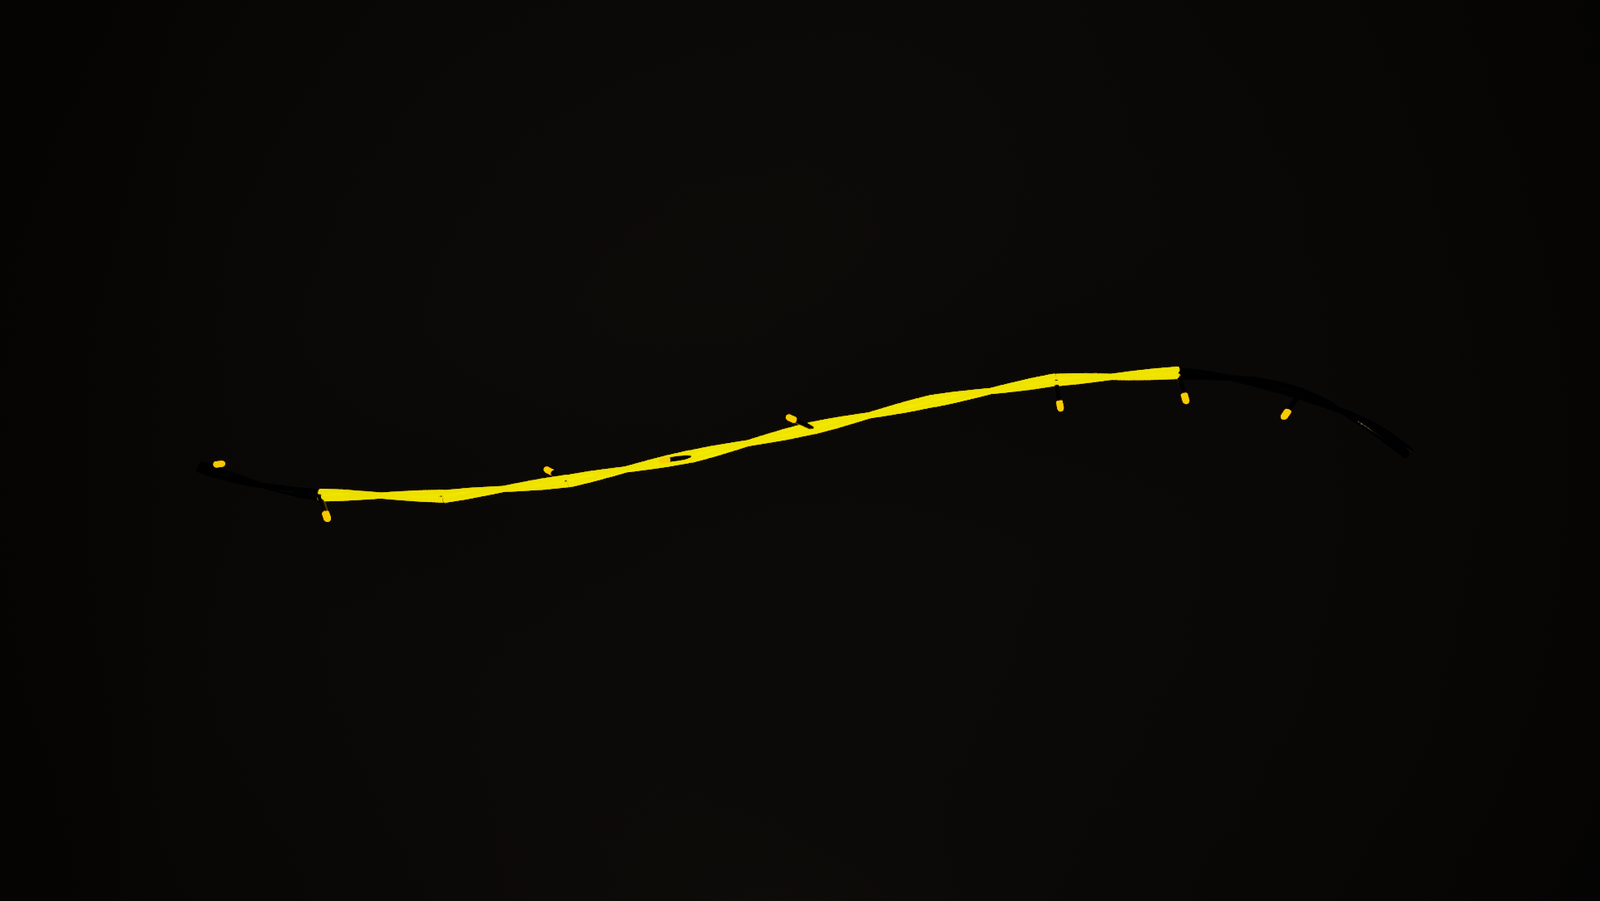
- Highlight Cord IM – Toggles the highlight rendering for the cord's instanced mesh (useful for debugging). Note: LEDs will not be highlighted, though they all are Instances.
- Cast Shadow – Whether the cord itself casts shadows.
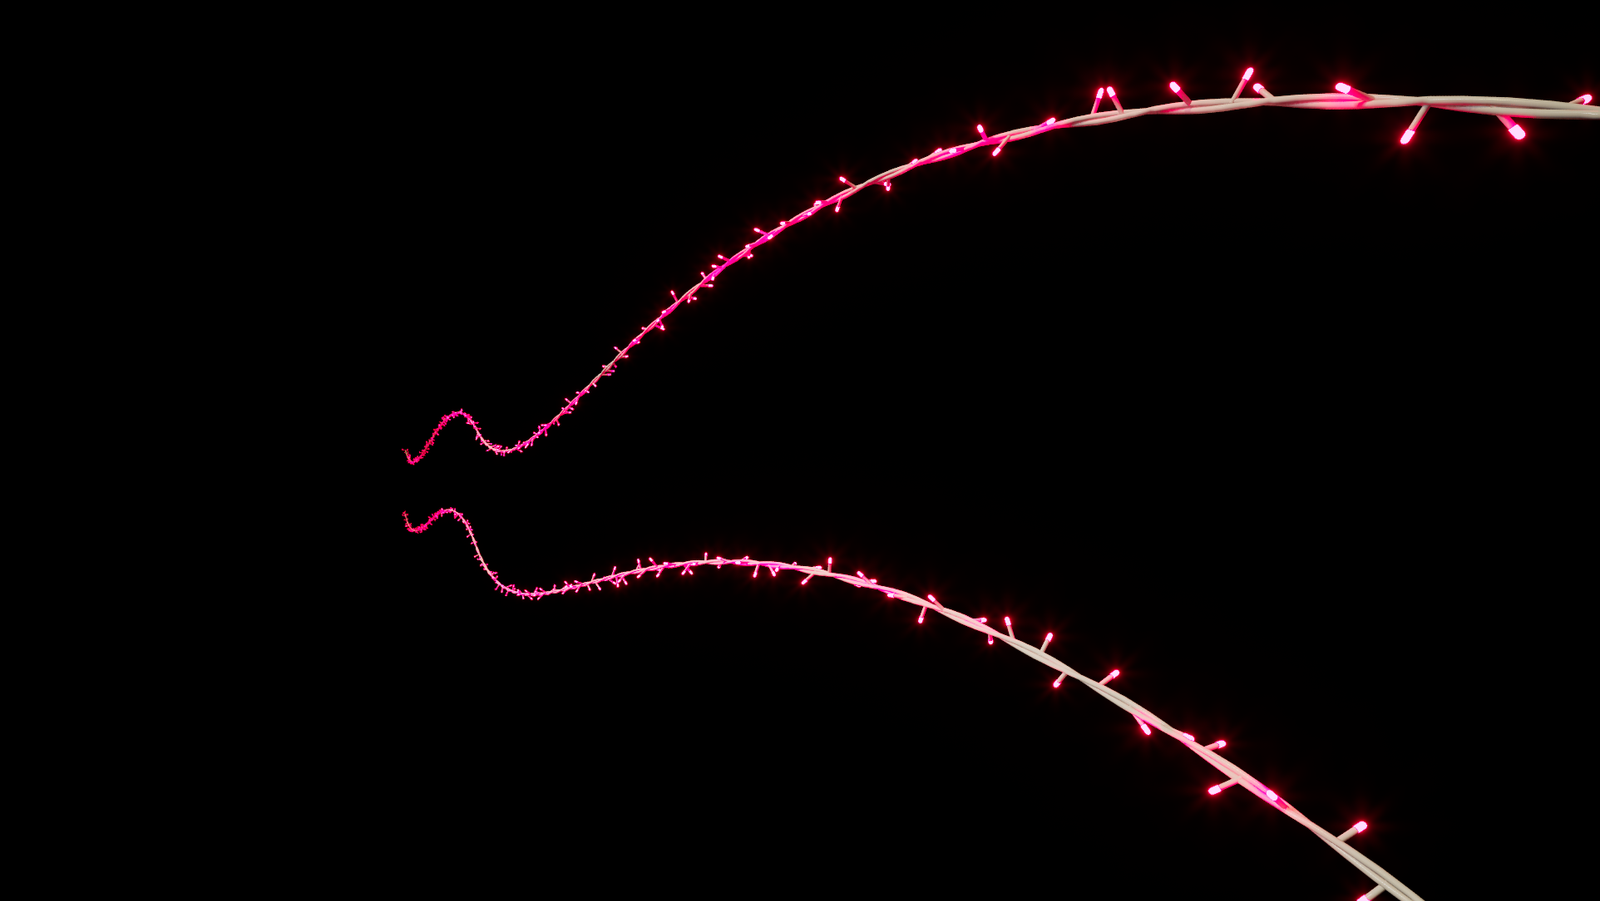
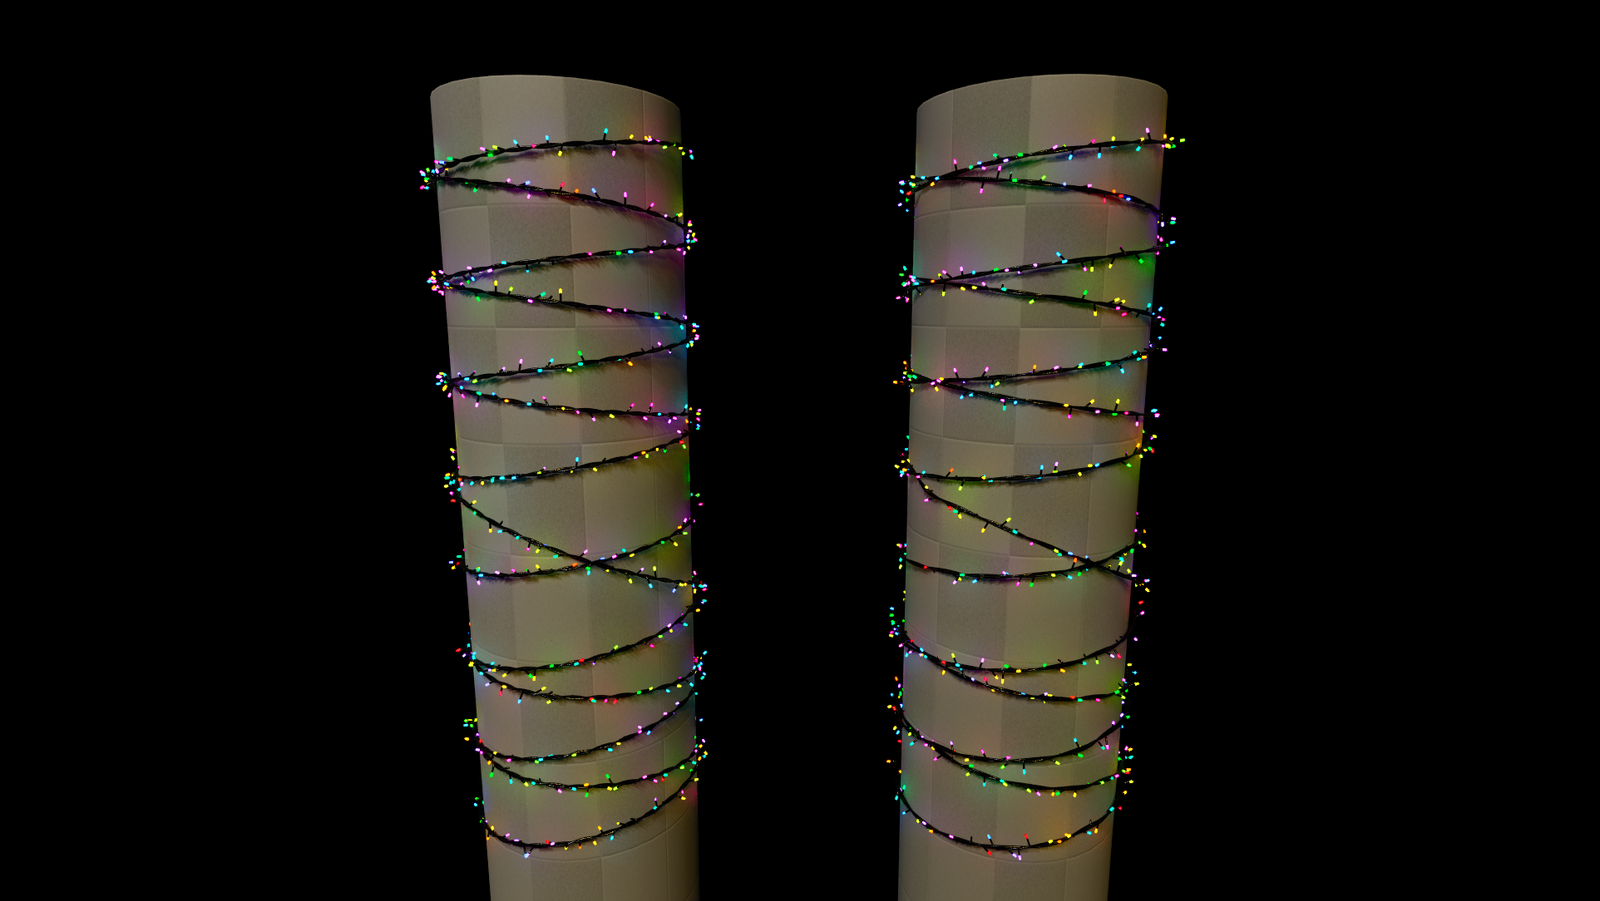
Read-only Info
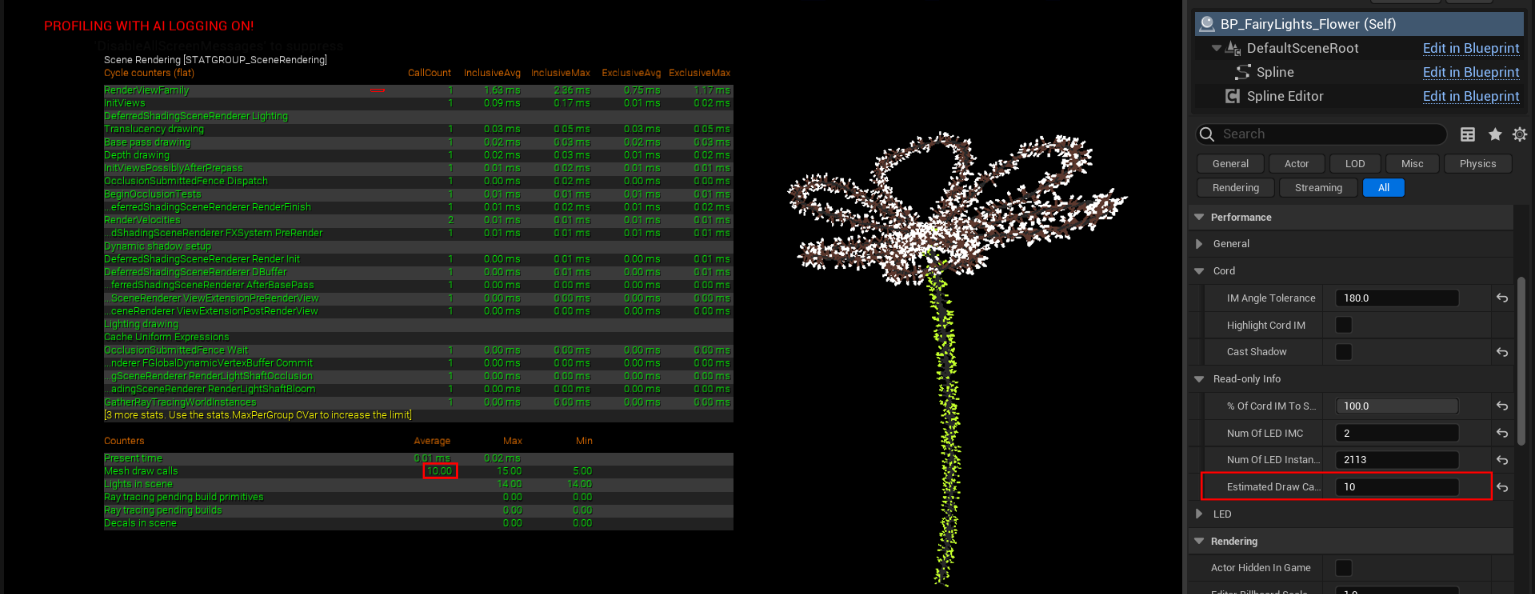
- % Of Cord IM – Percentage of spline segments using Cord Instanced Meshes instead of Spline Mesh Components.
- Num Of LED IMC – The number of LED instanced mesh components.
- Num Of LED Instances – Total count of LED instances in the scene.
- Estimated Draw Calls – Estimated number of draw calls generated by the system.
LED
- Cast Shadow – Whether the individual LED bulbs cast shadows.
Spline Editor
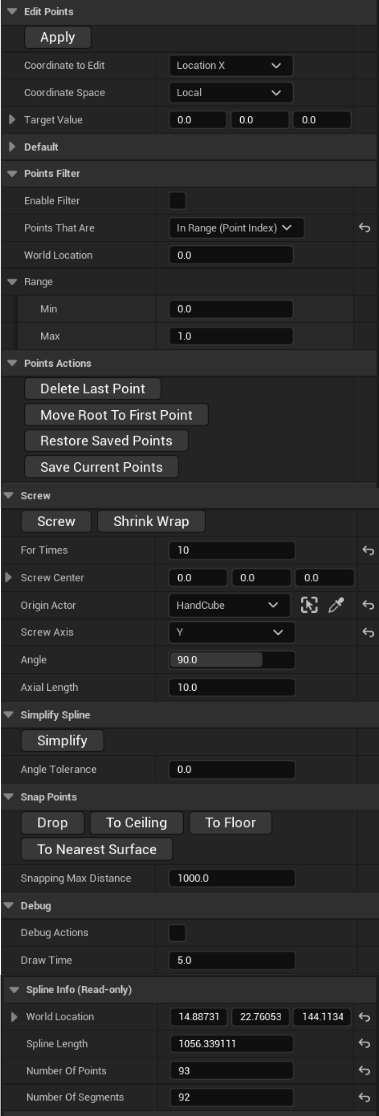
The Spline Editor is a powerful, custom Actor Component included with the Fairy Lights System. It is designed specifically to speed up the process of creating, editing, and manipulating splines directly within the editor. It provides a suite of tools that go far beyond the default Unreal Engine spline editing capabilities, making complex setups a breeze.
Core Features
Edit Points & Points Actions
Precisely control the coordinates of your spline points. You can apply specific coordinate values, filter points by index or range, and perform bulk actions like deleting the last point, restoring saved states, or moving the root to the first point. This is incredibly useful for precision adjustments.
Screw
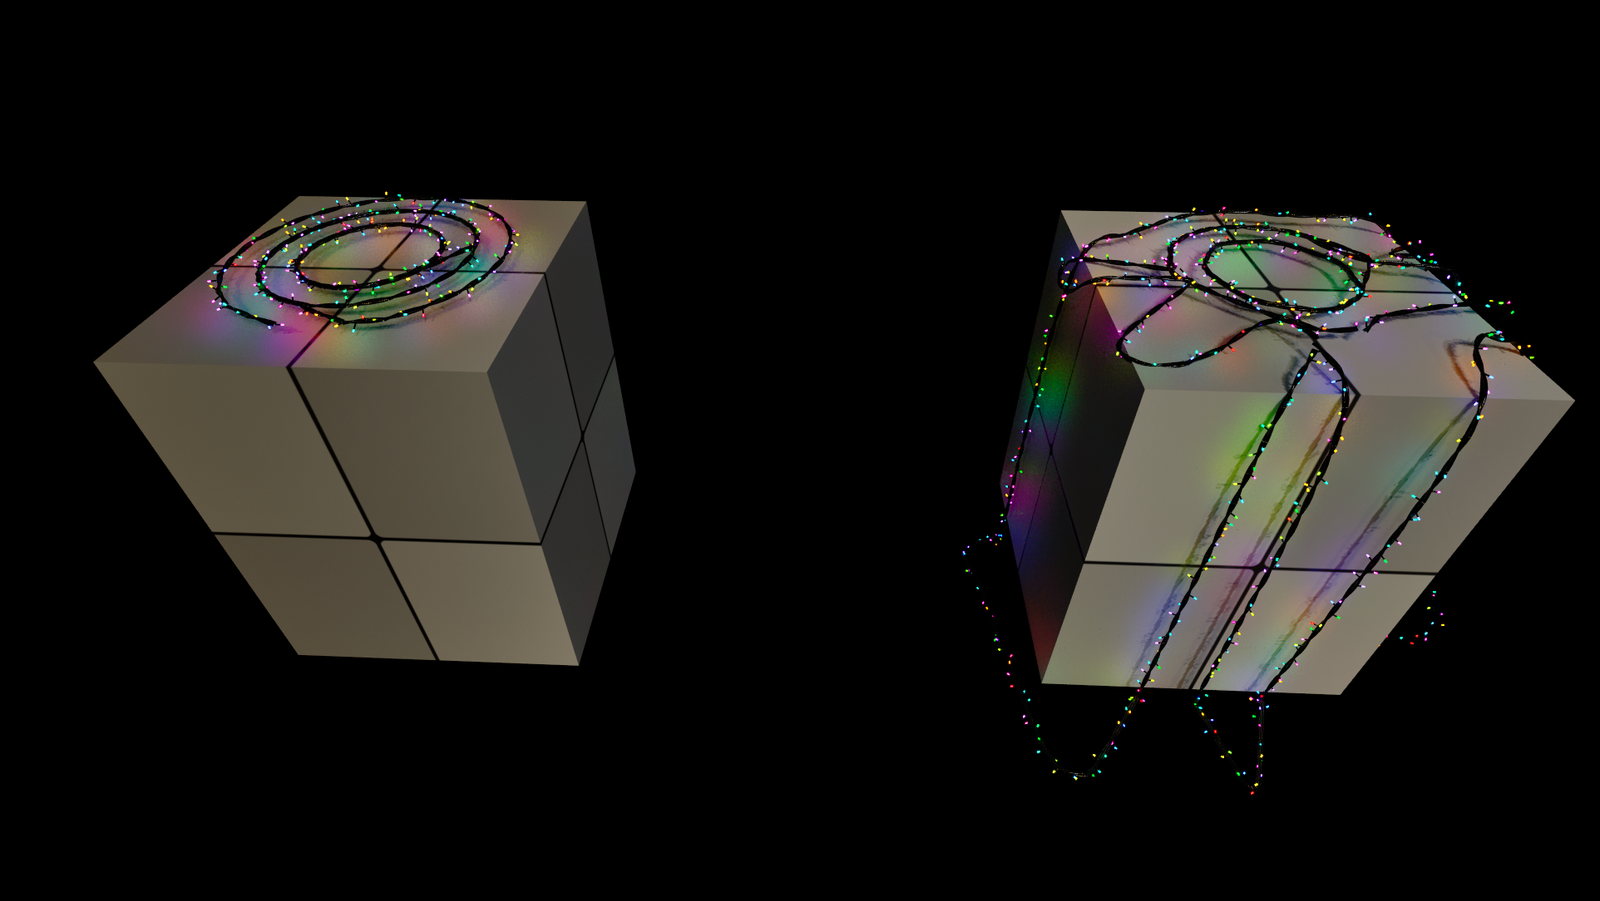
One of the most powerful features, Screw allows you to automatically generate helical or coil-like splines. You can set the number of times it wraps around an origin actor (like a pole or tree trunk), define the screw axis, angle, and axial length. This makes wrapping lights around objects effortless.
Simplify Spline
Overly complex splines can impact performance. The Simplify feature reduces the number of points on your spline based on an angle tolerance, giving you a cleaner and more optimized curve without losing the overall shape.
Snap Points
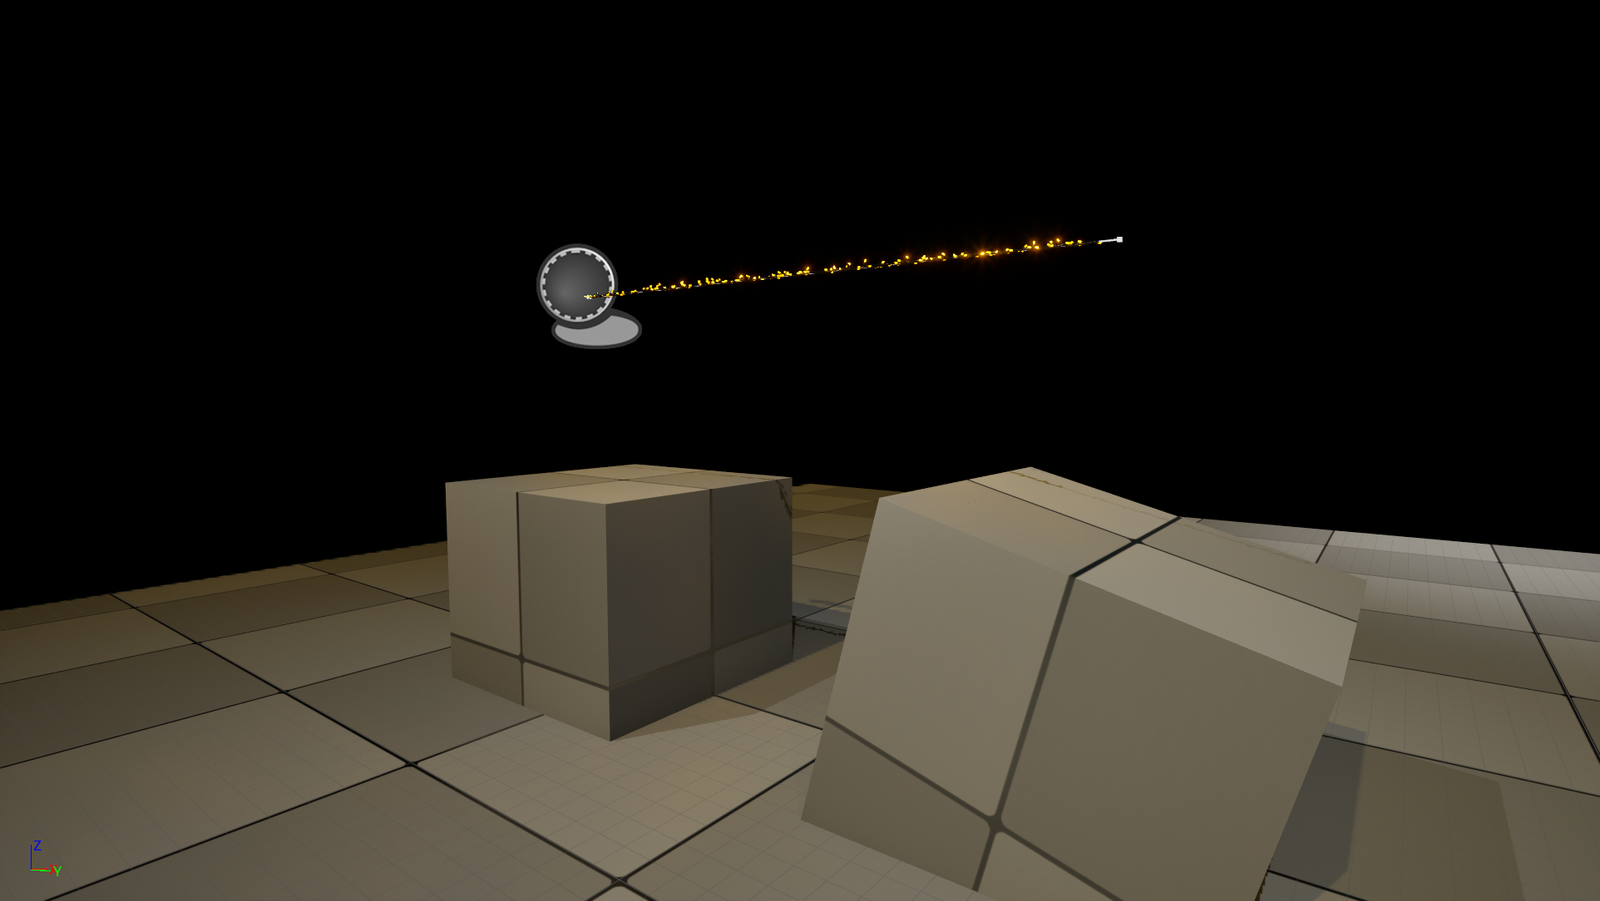
Quickly and accurately place your lights on surfaces. Use the Drop, To Ceiling, To Floor, or To Nearest Surface buttons to snap your selected spline points directly to geometry in your scene, up to a maximum distance defined by Snapping Max Distance.
There is a key difference between the Drop and To Floor functions:
- Drop – Reconstructs the spline to take the shape of the surface below. It dynamically adds and adjusts points to conform to the geometry, creating a smooth contour along the surface.
- To Floor – Only snaps the current points directly to the surface below. It does not add any new points, so the overall shape between the existing points remains unchanged.
Read-only Info
The Read-only Info section provides real-time feedback on your spline's length, world location, number of points, and number of segments, helping you keep track of your scene's complexity.
Notes
- If point actions don't affect spline points, check the Points Filter settings.
- The Run Construction bools don't have any effect. They are only there to run the construction script to update the generation of the cord and lights, so it doesn't matter if the bool is true or false.
- When changing float parameters, it's better to type in the value using the keyboard. Using the mouse to move the slider might cause lag because the system regenerates with each tick.
- It's better to disconnect the Generation nodes inside the construction script while editing the spline, for the same reason as previous note, and you get a more clear view of the spline.
- You can use Spline Editor component with any other spline actors you have in your projects.
Changelog
- Three new light patterns: Fill, Ping Pong, and Bounce.
- Now editing the pattern during runtime is possible using the Update Light Pattern function.
Preview
- Cord Instance Mesh Highlight: Each instance is now assigned a distinct color instead of glowing yellow, making it much easier to tell individual segments apart.
Preview
 Old
Old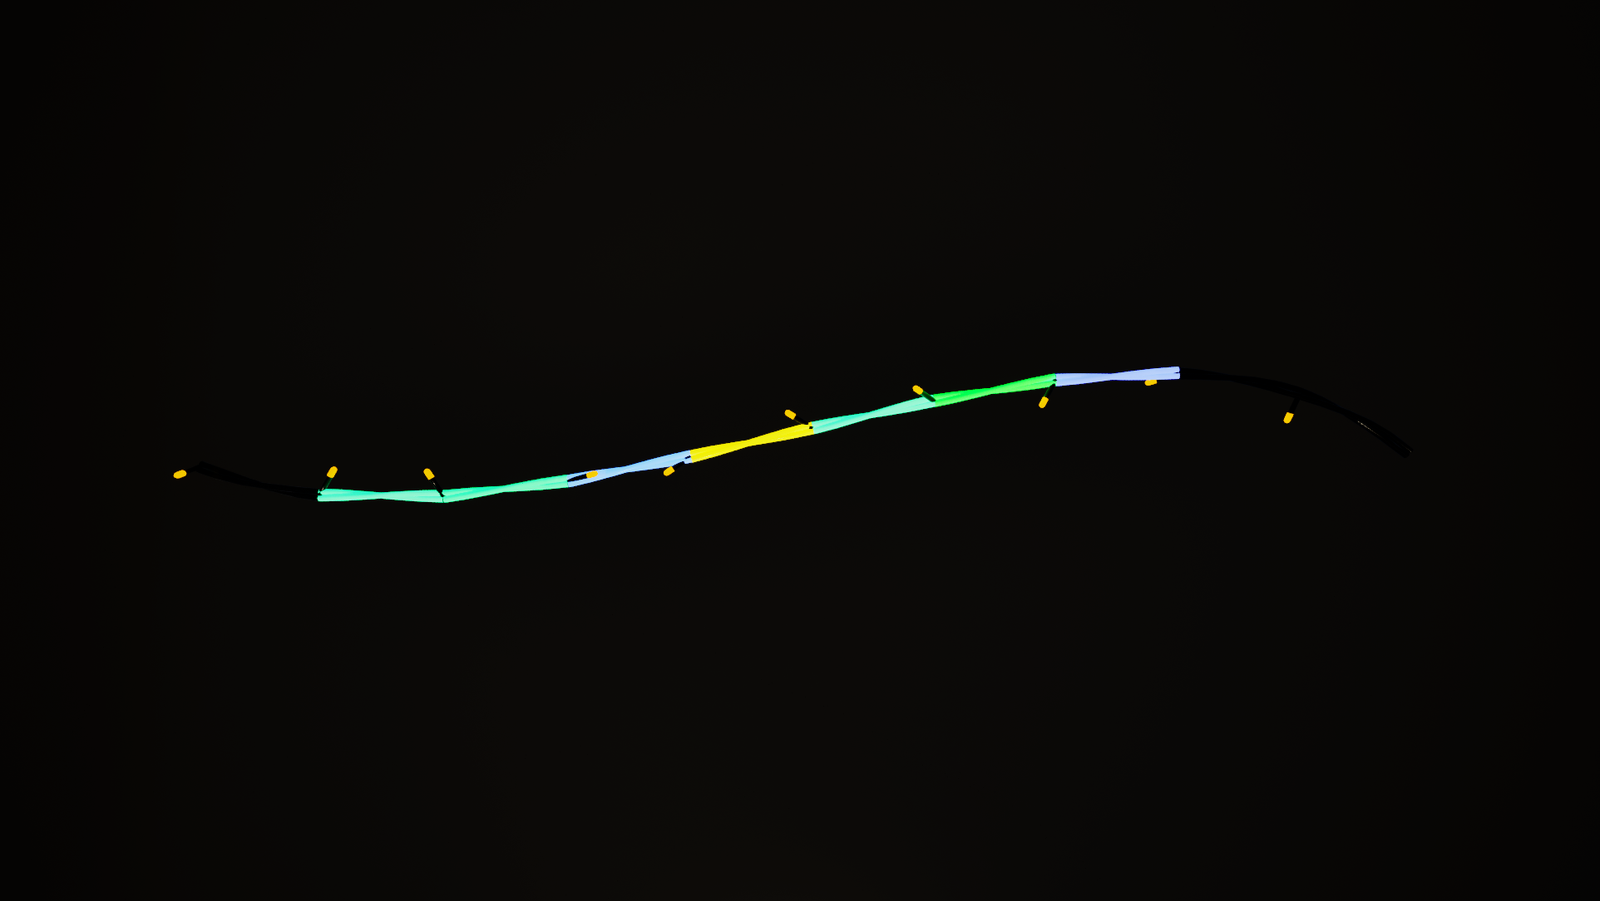 New
New - Settings Updates:
- Moved IM Angle Tolerance and Highlight IM to the Cord Settings section.
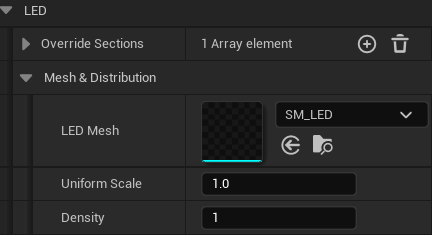
- Replaced LED Density with Spacing.
Preview
 Old
Old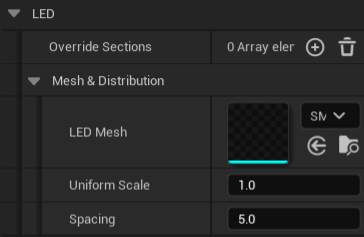 New
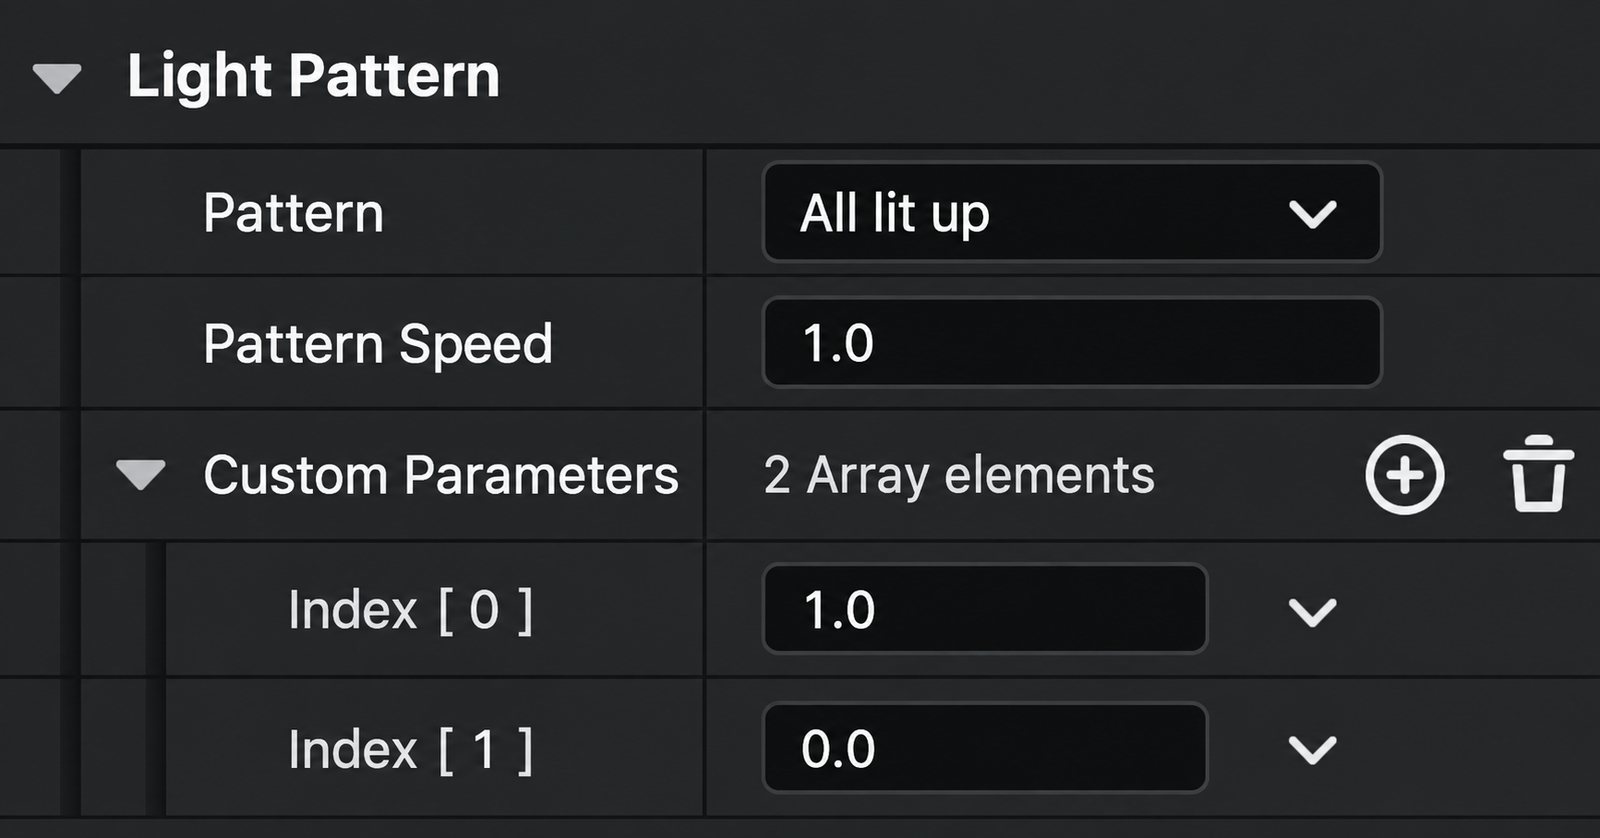
New - Added new Light Pattern settings: Reset on Update, Pattern Offset, and Reverse Direction.
Preview
 Old
Old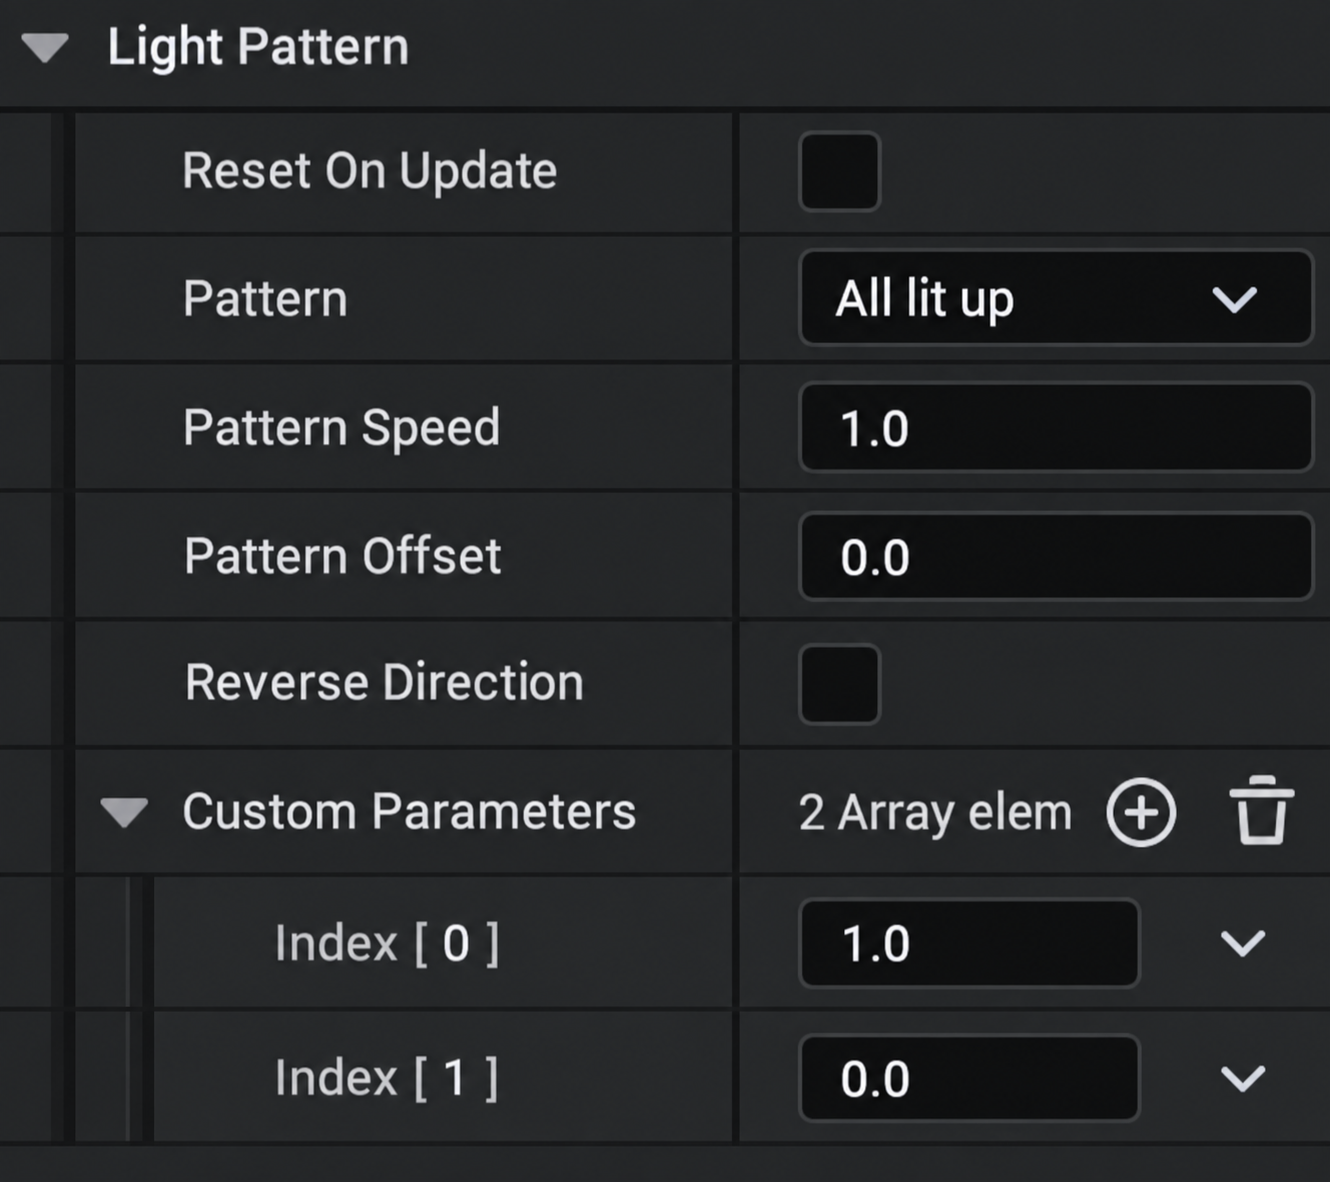 New
New
- Initial release of the Fairy Lights Spline System.