Introduction
Elevator System 2.0 is a complete, flexible elevator solution for Unreal Engine 5. It includes three elevator models (Default, Vintage, Sci-fi), three control panel types, three call devices, and an Outer Frame system for synchronized landing doors. The system supports flexible floor setup, two speed modes, door safety with occupancy detection, and extensive customization options.
This guide covers installation, setup, and customization. Each step includes a video walkthrough with playback controls and fullscreen support.
Installation & Setup
1. Download & Add to Project
Download the system from the Fab marketplace and add it to your Unreal Engine project.
2. Add Core Actors (Elevator, Control Panel, Call Device)
Place the elevator blueprint, a control panel, and a call button in your level. Link the control panel and call button to the elevator using the exposed references.
3. Add Outer Frame
Add outer frames for synchronized landing doors at each floor. Frames can also serve as floor destination references.
4. Configure Floor Heights
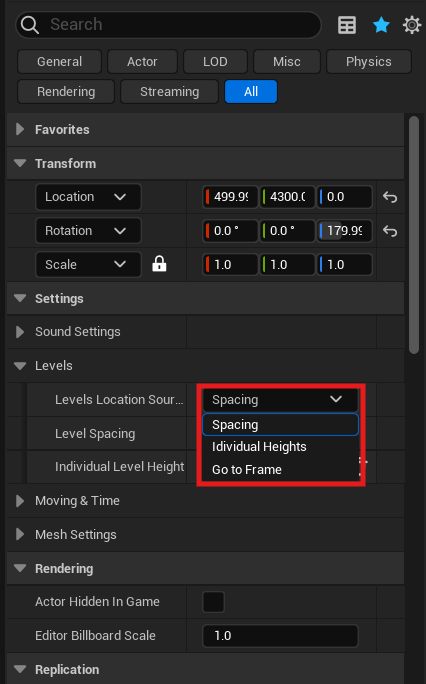
Set up floor locations using one of three methods: Equal Spacing, Manual Heights, or Follow Outer Frames.
5. Adjust Movement & Timing
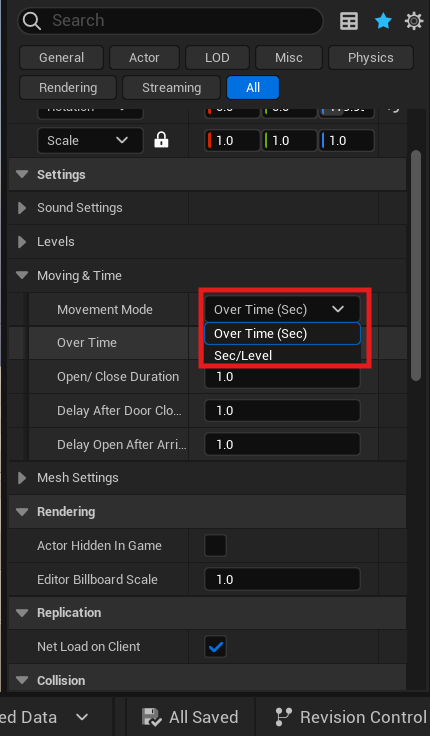
Configure elevator speed using Fixed Time (movement over a set duration) or Sec/Level (Pace; dynamic scaling based on floors crossed).
Customization
Switching Meshes
All meshes can be switched easily. For door meshes, set Open and Closed Transforms to create unique opening animations without worrying about scaling or pivot points.
Control Panel
Add and switch between button presets, control padding and arrangement order, transform buttons as a whole, and customize text fonts, colors, and glow effects.